I worked on a fun project this week. On Thursday I had supper with a friend and we were talking about photography. He is a potter and mentioned that he tries to keep overhead down by doing his own photographs. Taking pictures pleases me and it’s a lot easier to do if I have a project. I knew that my sister-in-law makes jewelry which can be a pain to take photos of because they are so reflective. Pottery and jewelry are pretty similar in that respect.
So I decided to build a softbox for nice diffuse light. The light box helps to keep reflections to a minimum. Whenever you are shooting shiny surfaces you really have to pay attention to what is reflected in those surfaces. A light box envelopes your entire subject in white, although there is usually a black opening where the camera sticks in.
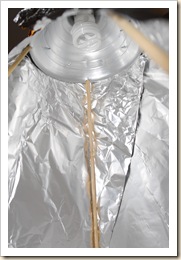
Instead of buying these two things, I decided to make my own, which will be much cheaper. I started out with the softbox. I purchased a plain old work light with a metal cone. Then I attached 4 dowel rods with strap, screwing them into the metal cone—you can see the screws sticking through the metal here:
I also purchased a “daylight” CFL for the light source. Turns out that it isn’t actually white, but it is close enough that I can easily correct it in Photoshop.
Once the dowel rods were in place, I measured and cut 4 square dowels for the base frame. I used corner irons to give it some stability. Then I used the strap to attach the round dowels.
The bottom of the soft box is just a piece of white cloth that we had lying around, which I stapled to the square dowel. I decided it would be much easier to staple to square dowel, which is why I went with square over round on the bottom.
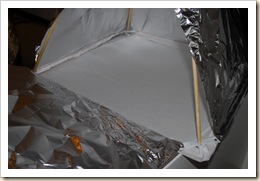
Originally, I was going to wrap the sides with black cloth, but then I decided I needed something shiny to reflect the light down to the big white diffusing cloth. I thought about cutting the fabric and then attaching shiny fabric or tin foil to the interior, but eventually decided I didn’t really need the black cloth except for looks. Since I’m the one who has to look at it the most, I decided it wasn’t worth the effort to make it look nice. I stapled the tin foil to the square dowel and then wrapped it around the sides towards the top. I left one panel easy to remove in case I wanted to change the light bulb or otherwise get into the interior.
Once I had the softbox finished, I took a couple photos:
This was with a grey backdrop, just a quick photo before I went to bed. (I have also changed the bulb so now the shadow and white highlight are all but gone, as you’ll see.)
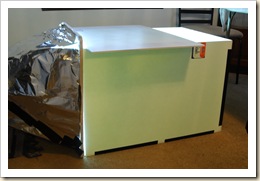
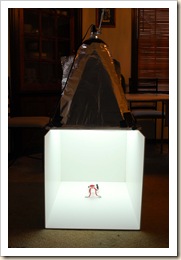
Pottery isn’t as reflective as jewelry. You have to look close to see where the paper that I was shooting on ends in the photo. For shiny metal jewelry, you really have to wrap the whole thing in white. So I decided to build a light box to shoot in. I took four pieces of foam board and taped them together to make a nice big white box. I have a fifth piece loose to help with closing the top or side, but I wanted to be able to move my light source. So here you can see it on the side and on the top.
With the light on the side, I can shoot down on things like jewelry. With it on the top, I can shoot things that stand on their own, like Santa Claus.
As you can see, the shadows all but disappear with this wonderful combination of softbox and light box:
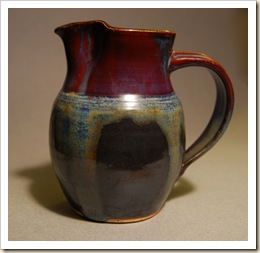
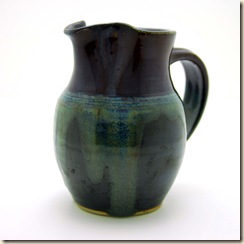
The pitcher also takes on a little better feel with the light box:
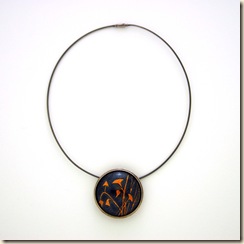
Here is one of Kristi’s pendants that Kathy owns:
I’m still working out some of the kinks, and need to find a good way to color correct, but I’m pretty happy with the results!

1 comment:
This is amazing!! Honestly, I think I like Santa the best. I kinda want to build one, but it seems like a ton of work. Might be worth it, though.
Oh my goodness Kristi is lucky to have you!
Post a Comment